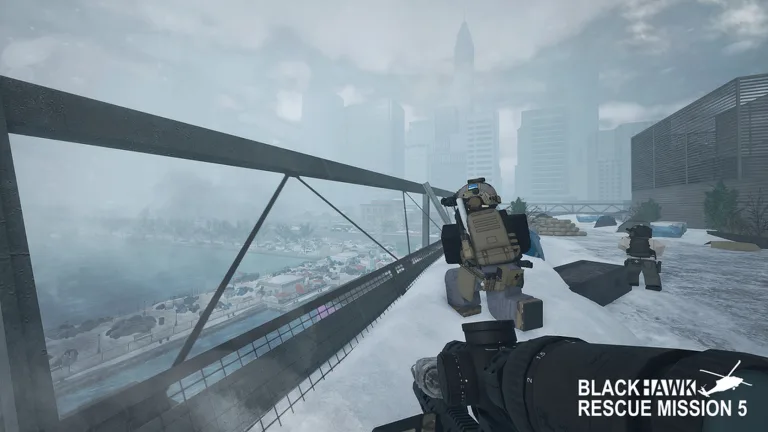
Mastering the Blackhawk Rescue Mission 5 Quarry Location
Conquer the Blackhawk Rescue Mission 5 quarry with advanced tactical routing, VIP elimination tips, and loot guides. Get the latest strategies now.
Published: Blackhawk Rescue Mission 5 Wiki Editorial Team
Table of Contents
Tactical Overview of the Blackhawk Rescue Mission 5 Quarry
Navigating hostile territory requires precise planning, especially when descending into the hazardous terrain of the blackhawk rescue mission 5 quarry. Located centrally towards the southern part of Ronograd Island, this industrial site serves as a major stronghold for RLF forces. Understanding the layout of the blackhawk rescue mission 5 quarry is essential because operators face deadly landmines at the entrance, multi-tiered processing plants, and relentless sniper overwatch. Whether you are executing a solo stealth run or coordinating with a full squad, mastering this zone dictates your survival rate on the battlefield.
The sector features massive open excavation pits, conveyor systems, and administrative office buildings that create severe tactical bottlenecks. According to player experience reports, rushing blindly into the excavation pits is a fatal mistake due to vulnerable vertical paths and overlapping enemy crossfires. Instead, operators must systematically clear surrounding watchtowers and secure adjacent elevations before attempting to breach the main processing plant.
Tip
Perimeter Approach
Always eliminate exterior marksmen in the high-ground watchtowers first. Their exposed positions make them easy targets for DMRs, completely neutralizing long-range threat lines before you step foot inside the inner courtyard.
Navigating Key Points of Interest
The industrial layout is divided into several distinct tactical zones. Knowing where enemies spawn and how structures connect gives your squad a massive advantage during engagements.
Excavation Pits
Wide-open mining zones offering natural rock cover, but plagued by exposed vertical climbing routes and minimal enemy AI presence.
Processing Plant
The central multi-story facility housing the VIP. Features complex conveyor networks, tight choke points, and close-quarters combat arenas.
Office Buildings
Administrative structures surrounding the perimeter. Perfect for scouting enemy patrols, flanking defenders, and escaping sniper fire.
To help operators evaluate the structural hazards and objectives within the zone, the breakdown below outlines the primary functional areas:
Zone Name
Primary Hazard
Tactical Utility
Main Entrance
5 buried landmines
Ground vehicle hazard; requires foot approach
Processing Plant
Choke points & 6 VIP guards
Main objective zone; multi-floor combat
Excavation Pits
Vertical exposure
High-ground sniper advantage from ledges
Locked Safe Room
Reinforced steel door
Secured loot storage requiring a breaching charge
Advanced Tactics and Stealth Strategies
Executing missions inside hostile sectors demands adaptive combat techniques. Based on community feedback and solo stealth videos, utilizing suppressed designated marksman rifles (such as the M110 or M110 A3) combined with the Mark 27 Mod 2 secondary weapon allows operators to pick off RLF patrols silently.
When tackling the VIP hidden inside the saferoom of the blackhawk rescue mission 5 quarry, operators face a reinforced red door protected by additional guards. A community report highlights that utilizing tactical smoke grenades and leveraging the ceiling gap allows teams to clear interior threats effectively. Furthermore, advanced players can exploit map geometry to execute a 'Take Down' maneuver through specific walls, bypassing the need to breach the primary door directly.
Clear all exterior watchtowers and eliminate perimeter RLF snipers using suppressed DMRs.
Approach the processing plant from the upper ridge to maintain a high-ground advantage over ground units.
Clear the interior security detail room-by-room, utilizing ceiling gaps for grenade deployment.
Neutralize the high-value target and complete all primary sector objectives.
Securing the Locked Room and High-Value Loot
Once all primary objectives are completed across the sector, the restricted bunker unlocks its potential. The key does not spawn until every primary objective is fulfilled, acting as an effective anti-cheat measure that prevents premature looting.
Warning
Key Spawn Restrictions
The bunker key will not appear anywhere on the map until all primary site objectives are successfully completed. Do not waste time searching early.
The key typically spawns in one of two locations:
On a wooden chair near foldable tables displaying a map of Ronograd Island inside the VIP safe room.
On a foldable white table near the elevator located on the deepest underground level.
Once unlocked, the secure room yields valuable resources to fund your future operations:
Loot Category
Item Quantity
Purpose / Value
Cash Bags
0 - 2
Sellable currency items
Metal Cases
2 - 4
High-tier sellable materials
Ammunition Boxes
3 crates
Replenishes magazines, grenades, and ammo
[!NOTE]
Loot stored inside locked rooms does not respawn dynamically. Operators must exit the Ronograd gamemode and rejoin a new server session to refresh the room's contents.
Frequently Asked Questions
Where is the quarry located in Blackhawk Rescue Mission 5?
The quarry is an industrial mining facility situated near the center of Ronograd Island towards the southern sector, positioned directly between regional enemy strongholds.
How do you unlock the secure bunker inside the quarry?
You must complete all primary sector objectives first, which triggers the key to spawn either in the VIP safe room on a wooden chair or near the deepest underground elevator.
What weapons work best for stealthing the blackhawk rescue mission 5 quarry?
Suppressed DMRs like the M110 or M110 A3 paired with a suppressed secondary pistol offer exceptional range and quiet elimination capabilities for solo or squad stealth runs.