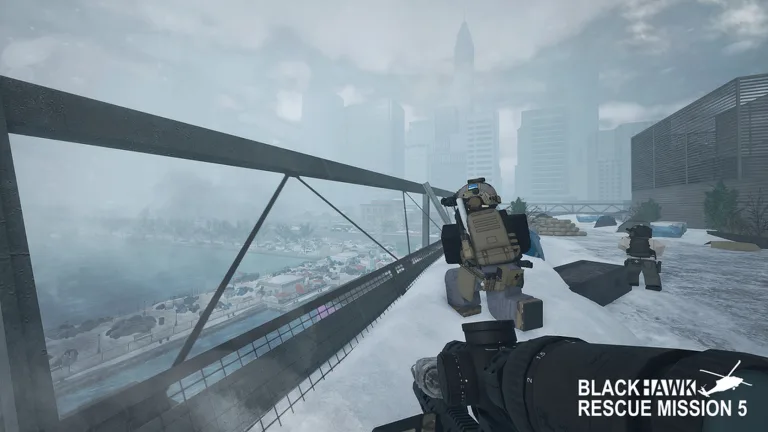
Discover the blackhawk rescue mission 5 base difficulty rankings from easiest to hardest. Get expert tips to survive every POI successfully.
Published: Blackhawk Rescue Mission 5 Wiki Editorial Team
Table of Contents
Introduction to Threat Levels in Roblox Open World
Navigating the tactical combat zones of Blackhawk Rescue Mission 5 requires a thorough understanding of environmental threats. If you have ever wondered about the true blackhawk rescue mission 5 base difficulty across various points of interest, you are not alone in testing your squad's tactical limits. Knowing how enemy density, verticality, and reinforcement mechanics interact can mean the difference between a successful extraction and a complete squad wipe.
According to community reports and experienced player experience, assessing the blackhawk rescue mission 5 base difficulty helps operators allocate resources, choose proper weaponry, and plan infiltration routes effectively. Whether you are grinding solo or coordinating with a full fireteam, understanding these threat tiers ensures you never walk blindly into a kill zone.
Early-Game Zones: Easy POIs for Beginners
Starting your deployment in the open world requires mastering fundamental gunplay and AI behavior. The game introduces players to combat through smaller, less punishing locations where mistakes rarely result in immediate death.
The Depot serves as the ultimate starting ground. Featuring minimal structures and predictable patrols, it is widely considered the easiest compound. However, according to player experience, indoor quarters can still overwhelm reckless operators. Next is Klovka, a medium-sized town offering a great environment to practice clearing buildings safely. Pushkino introduces all-range engagements, teaching players how to check windows and navigate street crossings without getting pinned down by basic firearms.
The Depot
Difficulty: 2/10. Ideal for testing recoil control, learning basic AI mechanics, and solo grinding with minimal risk.
Klovka
Difficulty: 2.5/10. A structured town environment perfect for mastering room clearing and close-quarters engagement basics.
Pushkino
Difficulty: 3/10. Introduces mixed-range combat where long sightlines can catch inexperienced operators off guard.
Mid-Game Skill Checks: Verticality and Urban Combat
As you progress deeper into the map, the tactical demands shift dramatically. Mid-tier bases test your spatial awareness, patience, and ability to prioritize high-value targets like snipers and mortar crews.
Lesdalina acts as a primary skill check, punishing rushed movements with rapid helicopter reinforcements and defensive mortar fire. Moving into the Quarry introduces true vertical combat, where enemies attack from elevated ledges and hidden underground sections. Finally, Saransk City delivers full-scale urban warfare, forcing squads to clear overlapping sightlines from windows, alleys, and rooftops simultaneously.
POI Name
Difficulty Rating
Primary Threat Factor
Recommended Approach
Lesdalina
4/10
Sniper fire & mortar crews
Eliminate backline artillery first
Quarry
5/10
Vertical elevation & suppression
Clear methodically, avoid rushing
Saransk City
6/10
Urban density & crossfires
Maintain strict team communication
Tip
Always neutralize enemy mortar positions and rooftop snipers before entering the inner courtyards of mid-tier and high-tier bases to prevent sudden squad wipes.
High-Tier Operations: Surviving Heavy Resistance
For seasoned operators looking for authentic milsim challenges, high-tier locations demand flawless execution, disciplined pacing, and robust resource management. Solo players will find these areas exceptionally punishing.
The Department of Utilities (DOU) and the Mountain Radar Station both sit firmly at a 7/10 difficulty rating. DOU features heavy rooftop elevation that pins down careless attackers, while the Mountain Radar Station restricts approach routes and exposes incoming transport helicopters to severe anti-air threats. Ronograd City escalates the scale further, turning engagements into grueling wars of attrition characterized by constant flanking maneuvers and attack helicopter patrols.
Reconnaissance: Scout the perimeter using optics to identify sniper nests and active vehicle patrols.
Air Defense Suppression: Clear out anti-air threats or high-ground shooters before attempting helicopter insertions.
Artillery Neutralization: Target and destroy enemy mortars to keep your squad and transport vehicles operational.
Methodical Clearing: Move from building to building as a cohesive unit, checking every corner and interior room.
End-Game Strongholds: Fort Ronograd and the Naval Base
At the pinnacle of the threat hierarchy lie Fort Ronograd and the Naval Base. These installations represent the absolute hardest challenges available in the current open-world layout.
Fort Ronograd funnels attackers directly into heavily fortified kill zones backed by fierce interior and exterior crossfires. Meanwhile, the Naval Base earns its 10/10 rating by combining dockside combat, complex multi-level rooftops, tight interior corridors, and heavily armored submarine defenders. Community reports emphasize that attempting these bases without a well-coordinated team and ample medical supplies will inevitably lead to failure.
Warning
Flying a transport helicopter directly into Fort Ronograd or the Naval Base without clearing surrounding anti-air defenses will result in immediate destruction. Proceed with ground assaults when necessary.
Frequently Asked Questions
What is the easiest base in Blackhawk Rescue Mission 5?
The Depot is widely recognized as the easiest location, rated at 2/10 difficulty. It features low enemy counts and predictable patrols, making it ideal for new players.
Why is the Naval Base considered so difficult?
According to community feedback and player experience, the Naval Base combines extreme enemy density, armored sub-surface units, deadly snipers, and complex vertical layouts that drain medical resources rapidly.
How can I deal with enemy mortars effectively?
Prioritize locating and eliminating mortar crews immediately upon arrival at bases like Lesdalina, Ronograd City, and the Department of Utilities to prevent devastating area-of-effect damage.
Is it possible to clear high-tier bases solo?
While solo clearing is technically possible in Blackhawk Rescue Mission 5, it requires near-perfect execution, exceptional patience, and careful resource management due to heavy enemy reinforcement mechanics.